7 Tips to Buy a MIG Welder for Your Business
Choosing a MIG welder for a business is not just a matter of comparing price tags. The machine must suit the work you actually do, from thin sheet metal to heavier structural parts. A unit that looks impressive in a catalog may struggle with long production runs or limited shop power. Small details matter. Duty cycle, wire-feed stability, and available voltage can shape a normal workday.
Before you buy mig welder equipment, consider who will use it and how often. A small repair shop may value portability, while a fabrication team may need higher output and easy access to replacement parts. Ask suppliers specific questions, and check the manufacturer’s specifications instead of relying on broad claims. If possible, test a sample weld using the materials and wire you expect to use. Look closely at bead consistency and how smoothly the wire feeds. It is a simple check, but easy to skip.
These seven tips will help you compare machines with practical needs in mind: application, power, duty cycle, controls, consumables, support, and total cost. Not every business needs the most powerful model. In fact, buying more capacity than your shop can use may tie up money better spent elsewhere. Still, the cheapest option can become costly if it interrupts production. There is no perfect shortcut. A careful choice starts with honest estimates of your workload, your operators’ experience, and the space available in your shop.
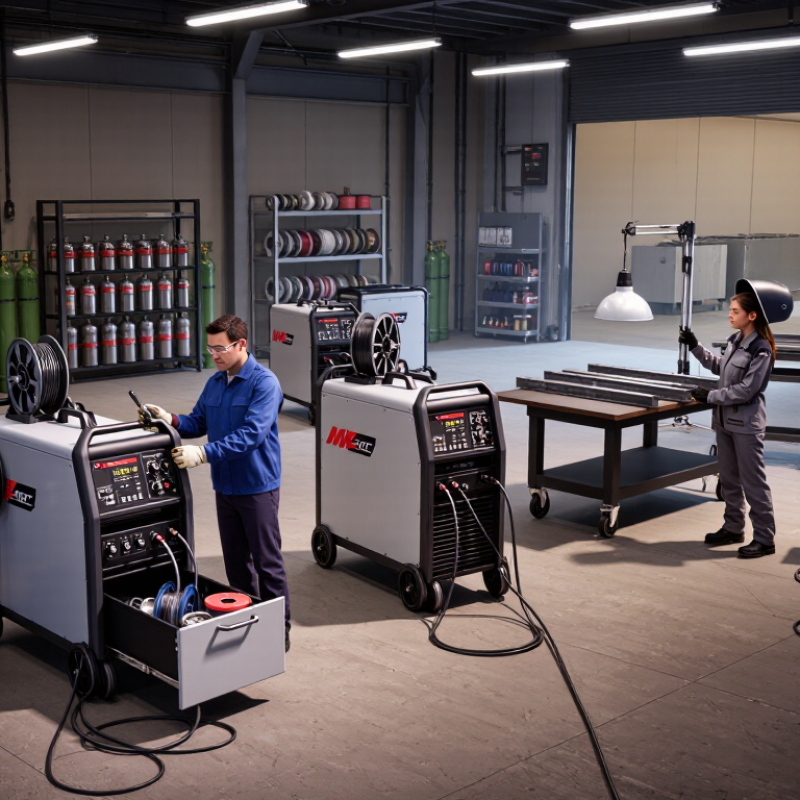
Define Welded Materials and Thickness Before Comparing MIG Power Sources
Before comparing MIG power sources, list the metals your business actually welds. Mild steel, stainless steel, and aluminum require different wire, shielding gas, and setup choices. Note the thinnest and thickest material you expect to handle, using real stock measurements rather than rough guesses. A machine that suits frequent 3 mm steel work may struggle with heavier sections or run too hot on thin sheet.
Tip: Bring sample offcuts to a welding supplier or test area. Try the thinnest and thickest pieces, and record the wire size, settings, and results. Watch for burn-through, poor fusion, and excessive spatter. Thin sheet needs controllable low output. Heavier joints may need more power, multiple passes, or careful joint preparation. Thickness matters, but joint design and welding position matter too.
Once the material range is clear, compare machines by usable output, duty cycle, and available input power. Check the specification sheet against your expected work, not just its maximum amperage. A high maximum rating can look impressive. It may not tell you how steadily the machine handles your common jobs. One detail is easy to overlook: if your material list is too broad, the final choice may involve compromises. Revisit it with the people who weld every day.
| Material and Typical Job | Common Thickness | Practical Output Range to Compare | Process and Setup Considerations | Business Buying Tip |
|---|---|---|---|---|
| Mild steel sheet, panels, and light brackets | 0.8–1.5 mm (about 20–16 gauge) | Approximately 30–90 A, depending on joint design and travel speed | Check whether the power source can maintain a stable low-amperage arc. Match wire diameter and feed speed to the work. | Prioritize reliable low-output control if thin sheet is a regular part of production; maximum amperage alone is not a useful comparison. |
| Mild steel frames, racks, and general fabrication | 2–3 mm (about 12–10 gauge) | Approximately 80–150 A | Solid wire with an appropriate shielding gas is commonly used for shop work. Confirm that the machine supports the required wire sizes. | Compare the rated output and duty cycle at the amperage your work actually requires, not just the advertised peak output. |
| Mild steel structural parts and heavier brackets | 4–6 mm (about 3/16–1/4 in) | Approximately 150–250 A; joint preparation and multiple passes can change requirements | Thicker joints may need beveling, multiple passes, or a qualified welding procedure. Check input power and duty cycle at higher output. | Estimate the share of work at this thickness before paying for a higher-output machine that may be underused. |
| Aluminum enclosures, frames, and components | 1.5–3 mm (about 1/16–1/8 in) | Often around 100–180 A, with settings varying by alloy, joint, and wire-feed speed | Aluminum typically needs a compatible wire-feeding setup, such as a spool gun or push-pull system, and suitable shielding gas. Its high thermal conductivity affects heat input. | Include the cost and compatibility of the aluminum wire-feeding equipment when comparing complete systems. |
| Stainless steel equipment, guards, and fixtures | 1.5–4 mm (about 1/16–5/32 in) | Commonly about 60–180 A, depending on thickness and joint configuration | Use compatible stainless filler wire and shielding gas. Control heat input where distortion or corrosion performance is important. | Confirm that the machine’s wire-feed range and available process settings suit the stainless work your business performs. |
| Mixed-material repair and maintenance work | Varies by repair; identify the thinnest and thickest recurring jobs | Choose a range that covers routine work without relying on maximum output continuously | Material type, joint access, position, wire, gas, and preparation all affect suitable settings. Follow applicable procedures and safety requirements. | List the materials and thicknesses found in actual work orders before narrowing the power-source shortlist. |
| Planning note: Output ranges are general starting points, not guaranteed settings. Actual requirements depend on material grade, joint design, welding position, wire and gas selection, and the applicable welding procedure. Check the machine’s rated output, duty cycle, and input-power requirements against your production needs. | ||||
Related Posts
-
7 Tips for Choosing a Cheap MIG Welder
-
Why Choose a MIG Welding Machine for Global Projects?
-
Top MIG Welding Equipment for Global Buyers?
-
Understanding the Essential Components of MIG Welding Equipment for Beginners
-
The Ultimate Guide to Buying a MIG Welder for Your Welding Projects
-
Top 10 Mini Spot Welding Machines for Global Buyers?

Contact us
Please fill out the enquiry form, and our dedicated team will promptly attend to your request